🙋♂️Hello Everyone
In this blog post, we're gonna Get Started with Supabase Database in NextJS!
One of the coolest things about Supabase is its database and for building full-stack apps, we all like to use NextJS, so in this tutorial, I'm gonna show you how can we integrate the two!
Why choose Supabase
In case you don't know about Supabase Database, here are a few points to catch up on!
- It's free to use and follows the pay as you go, model,
- The free version provides unlimited read and write requests!
- The free version contains 500 MB of space
- It's a SQL Based database
- It is one of the easiest databases to get started with!
So, let's jump right in!
What we're building today:
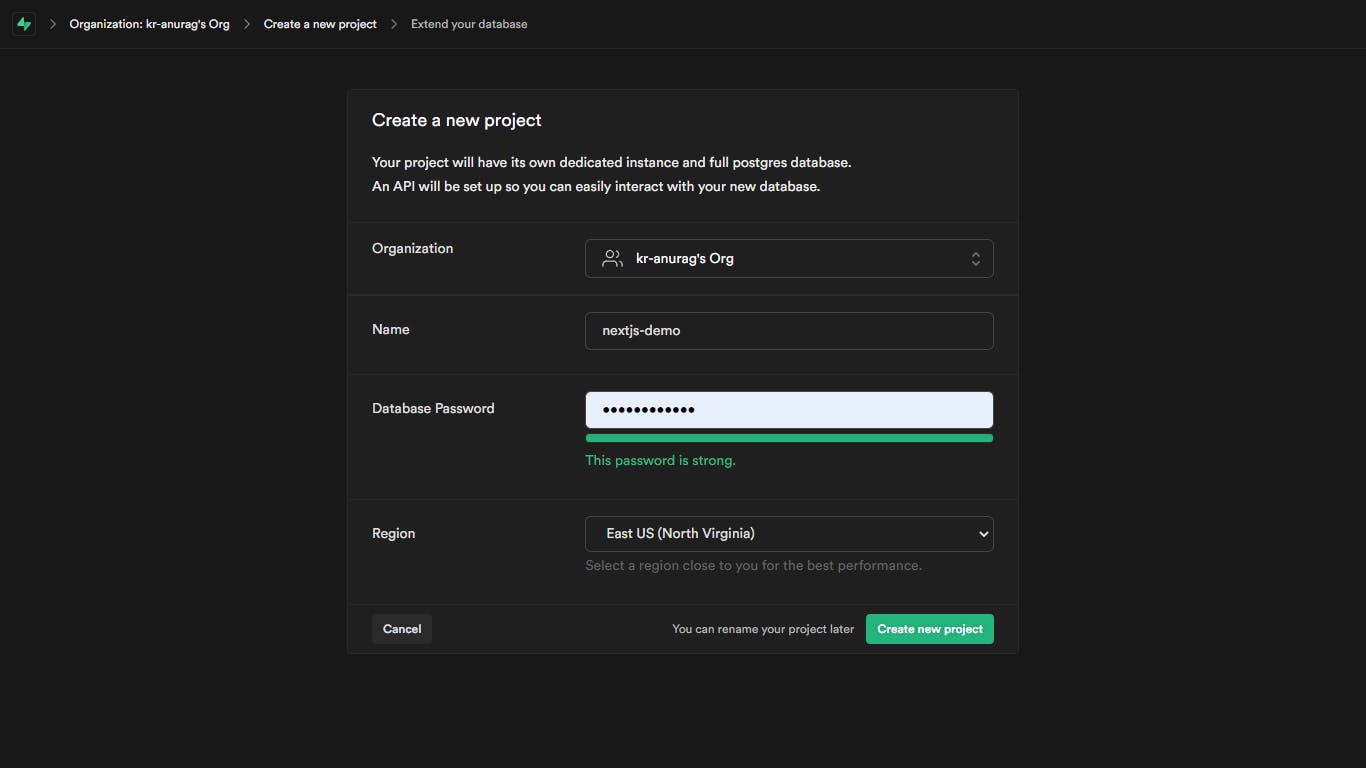
First, you need to set up a project in Supabase, you can go to their official website and create a free project! In case you don't have an account there, you need to make an account there.
Go to Supabase, and click on create a new Project, choose a name and a password, and you're good to go!
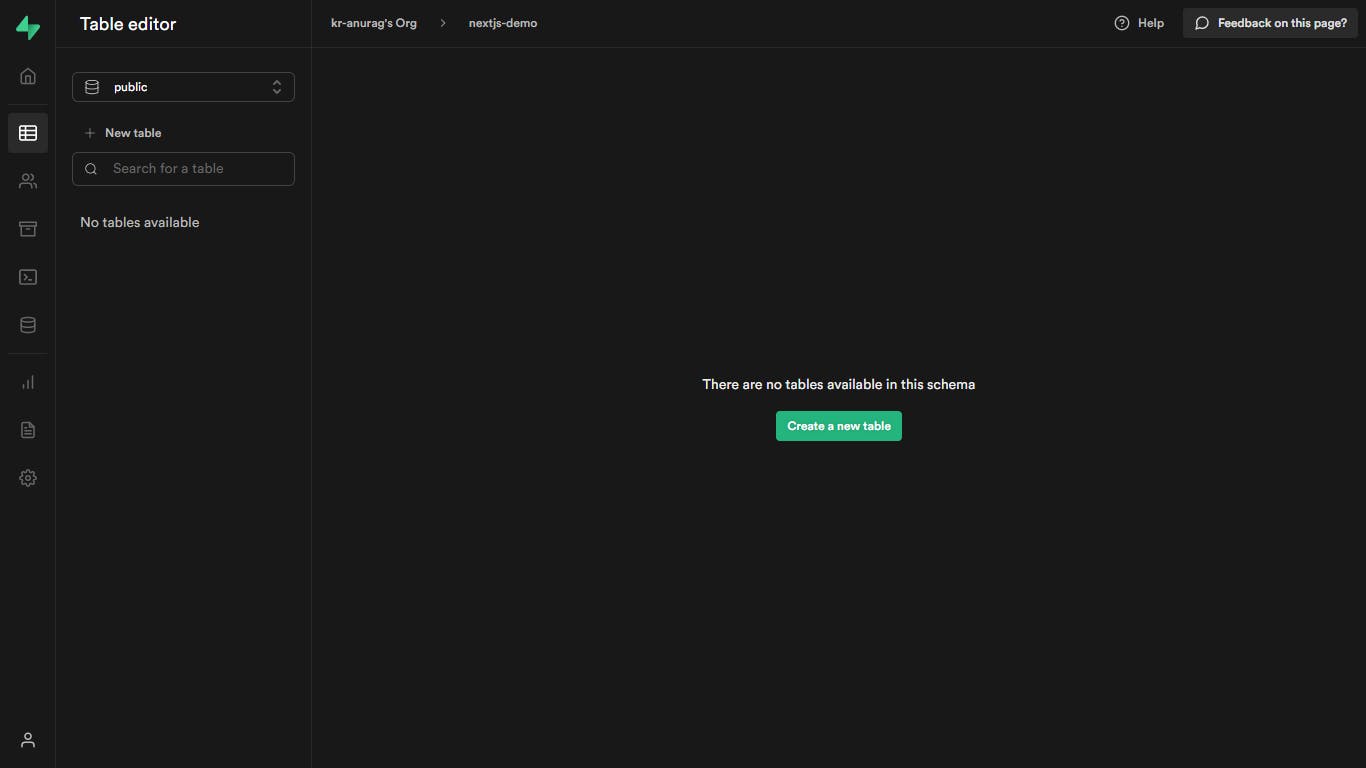
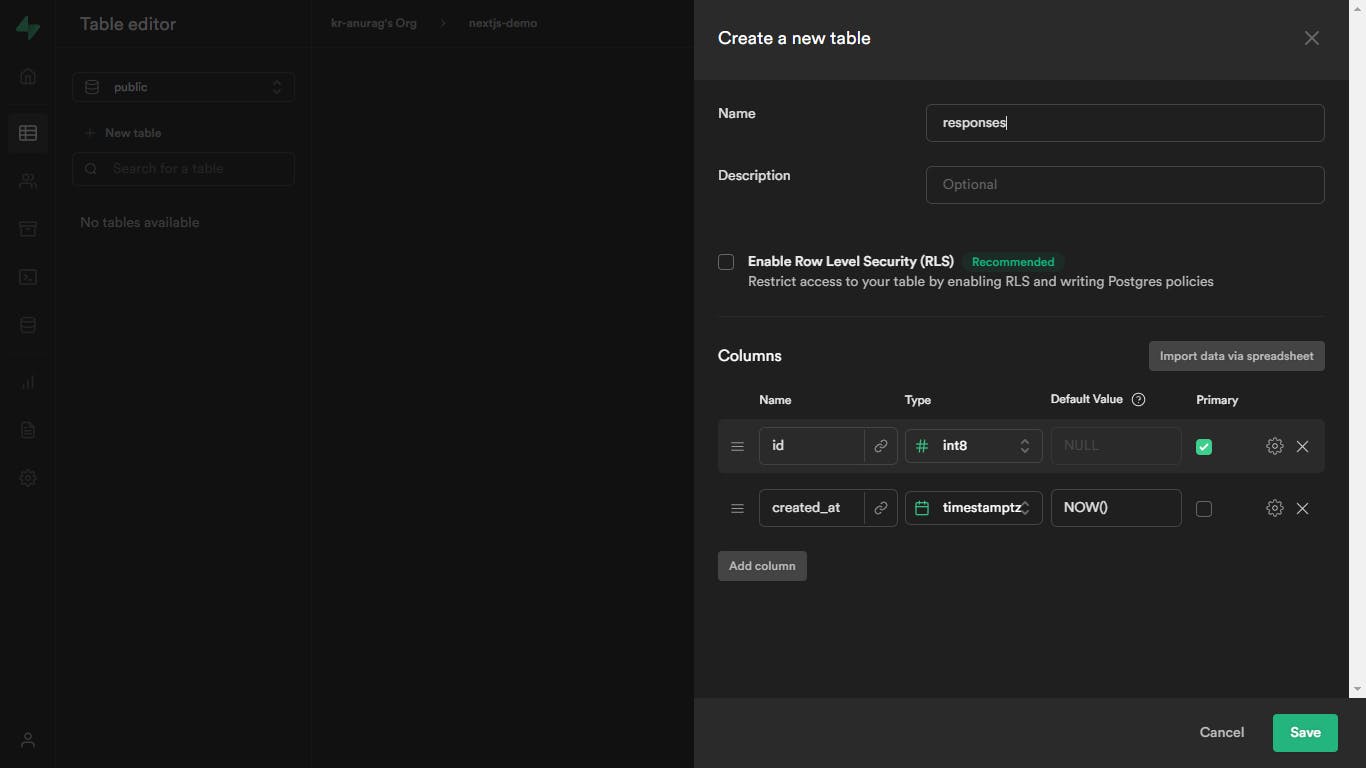
Next up, create a new table in the database named responses
Now, let's jump to the coding part! So, we're using NextJS for this demo, and I'm using Tailwind as my UI preference. But you can use your preferred UI Framework as your preference!
npx create-next-app -e with-tailwindcss supabase-demo
Now, we're gonna make a simple form. For this demo, you can just use the index.js file. Clear up the boilerplate code.
Now, we're gonna make a simple form!
First, make the main div and align its children to the center using flexbox
<div className="min-h-screen min-w-screen bg-purple-500 flex justify-center items-center">
</div>
Now, we can add input fields and a submit button:
<div className="min-h-screen min-w-screen bg-purple-500 flex justify-center items-center">
  <form className="p-8 bg-white shadow rounded flex flex-col justify-center items-center">
    <input
      type="text"
      className="m-2 outline-none py-2 px-4 border-2 border-black-200 rounded focus:border-blue-400 text-black-300 text-xl"
      placeholder="Your Name"
    />

    <input
      type="text"
      className="m-2 outline-none py-2 px-4 border-2 border-black-200 rounded focus:border-blue-400 text-black-300 text-xl"
      placeholder="Your Email"
    />

    <button className="m-1 p-2 bg-green-500 text-white font-medium text-xl grid place-items-center rounded">
      Submit
    </button>
  </form>
</div>;
Now, we are gonna use hooks to get the input values:
First, let's make two variables using the useState hook
  const [name, setName] = useState('')
  const [email, setEmail] = useState('')
Now, we will assign these values to the input fields and update them if the value changes. We can do this using the onChange event.
  <input
    type="text"
    className="m-2 outline-none py-2 px-4 border-2 border-black-200 rounded focus:border-blue-400 text-black-300 text-xl"
    placeholder="Your Name"
    value={name}
    onChange={(e) => setName(e.target.value)}
  />

  <input
    type="text"
    className="m-2 outline-none py-2 px-4 border-2 border-black-200 rounded focus:border-blue-400 text-black-300 text-xl"
    placeholder="Your Email"
    value={email}
    onChange={(e) => setEmail(e.target.value)}
  />
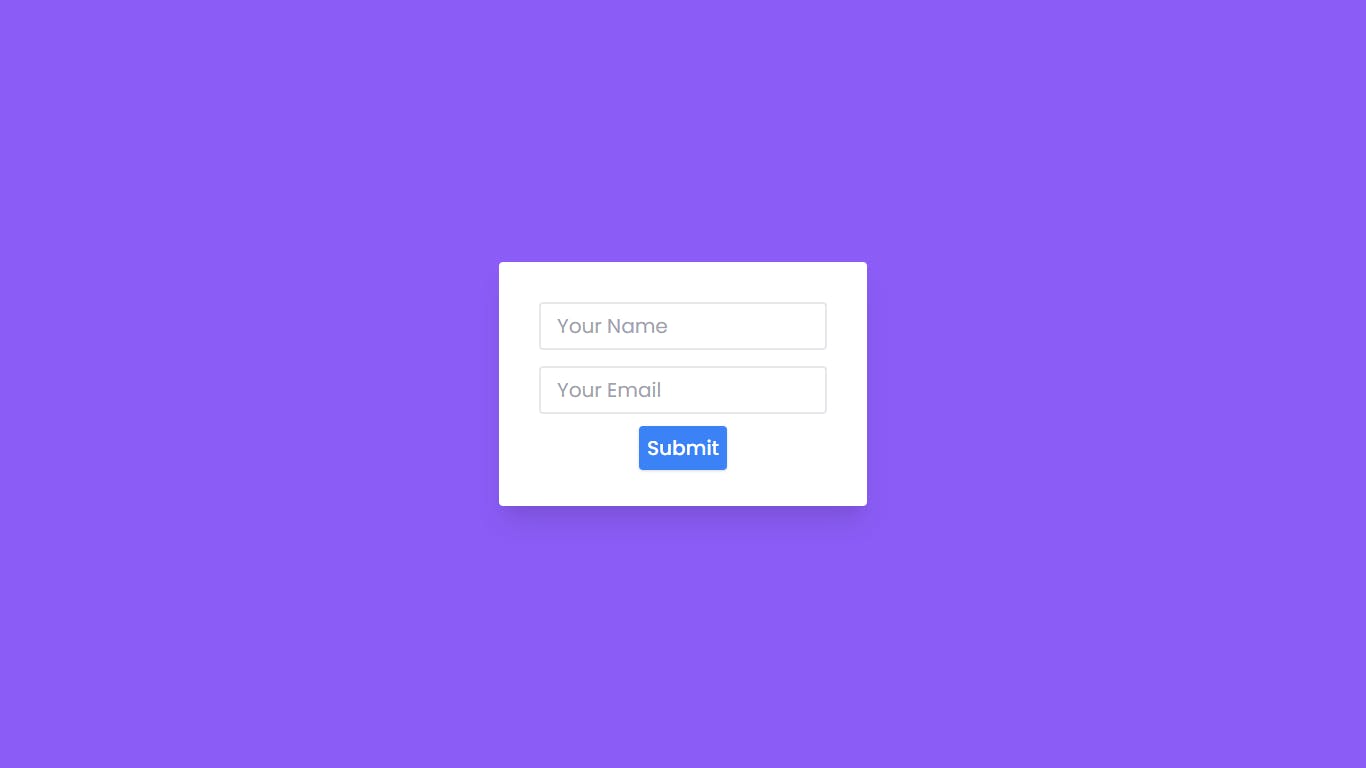
So now, you should have a simple form that looks like this:
Now, we will work on the database part, first, we will install supabase-js
npm install @supabase/supabase-js     # for npm
yarn add @supabase/supabase-js     # for yarn
Now, we need to initialize supabase, go to the project dashboard on supabase, and get your keys from there. Then, follow along:
import { createClient } from "@supabase/supabase-js";

const supabase = createClient(
  "<your_project_url_here>",
  "<your_public_anon_key_here>"
);
Now, let's make a function to handle form submit. We are gonna structure the form data in a new variable:
const handleSubmit = async () => {
  const form = {
    name: name,
    email: email,
  };
};
Now, we're going to upload the form data to Supabase Database! Here's how we're gonna do it:
const handleSubmit = async () => {
  const form = {
    name: name,
    email: email,
  };

  const { data, error } = await supabase
    .from("responses")
    .insert([{ response: form }]);

  error ? console.log(error) : console.log(data);
};
And, That's it!! Now, you can fill the form and submit it to see the data update in the database!
